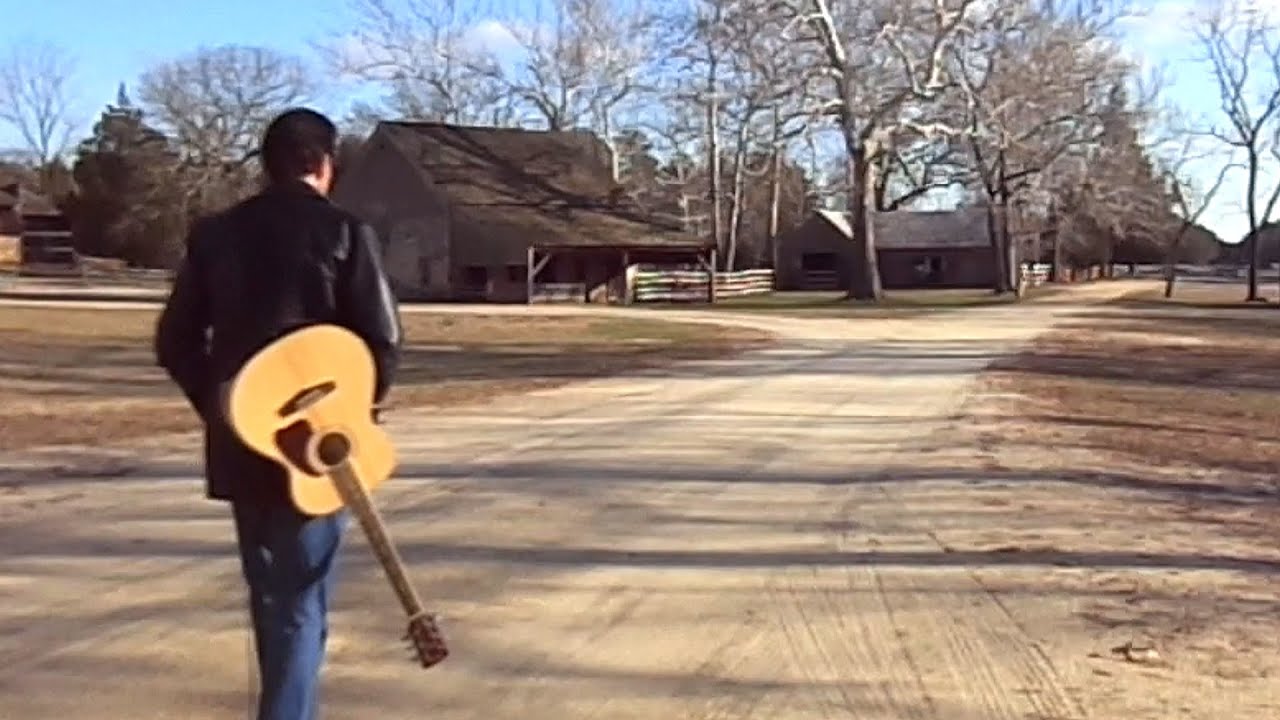
Tom Petty Love is a Long Road Cover YouTube
Tom Petty's 'Love Is a Long Road' Up Over 8000% in Streams Following 'Grand Theft Auto VI' Trailer. In this week's Trending Up Tom Petty's Full Moon Fever deep cut …

Tom Petty's 'Love Is a Long Road' Up Over 8000% in Streams Following 'Grand Theft Auto VI' Trailer. In this week's Trending Up Tom Petty's Full Moon Fever deep cut …

1. INTRODUÇÃO. Tratando-se de Vigiar e Punir e do objetivo deste texto que é transmitir um panorama resumido de uma das mais importantes obras de Michel Foucault a apresentação do …
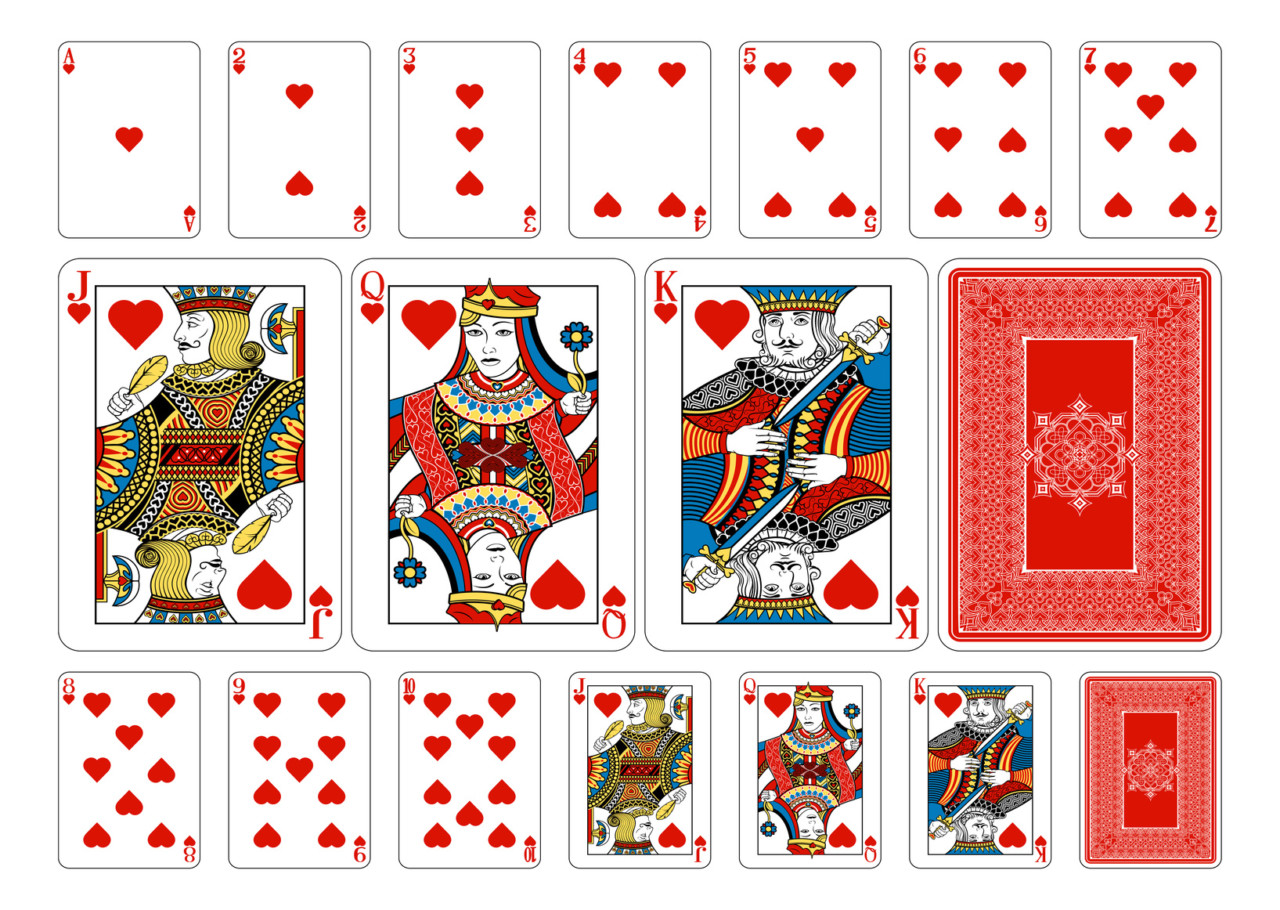
1. Buraco (Biriba Canastra) De 2 a 6 jogadores; Pode ser jogado individualmente ou em dupla; Baralho tradicional; 2 baralhos por partida. O objetivo do Buraco é fazer o maior …
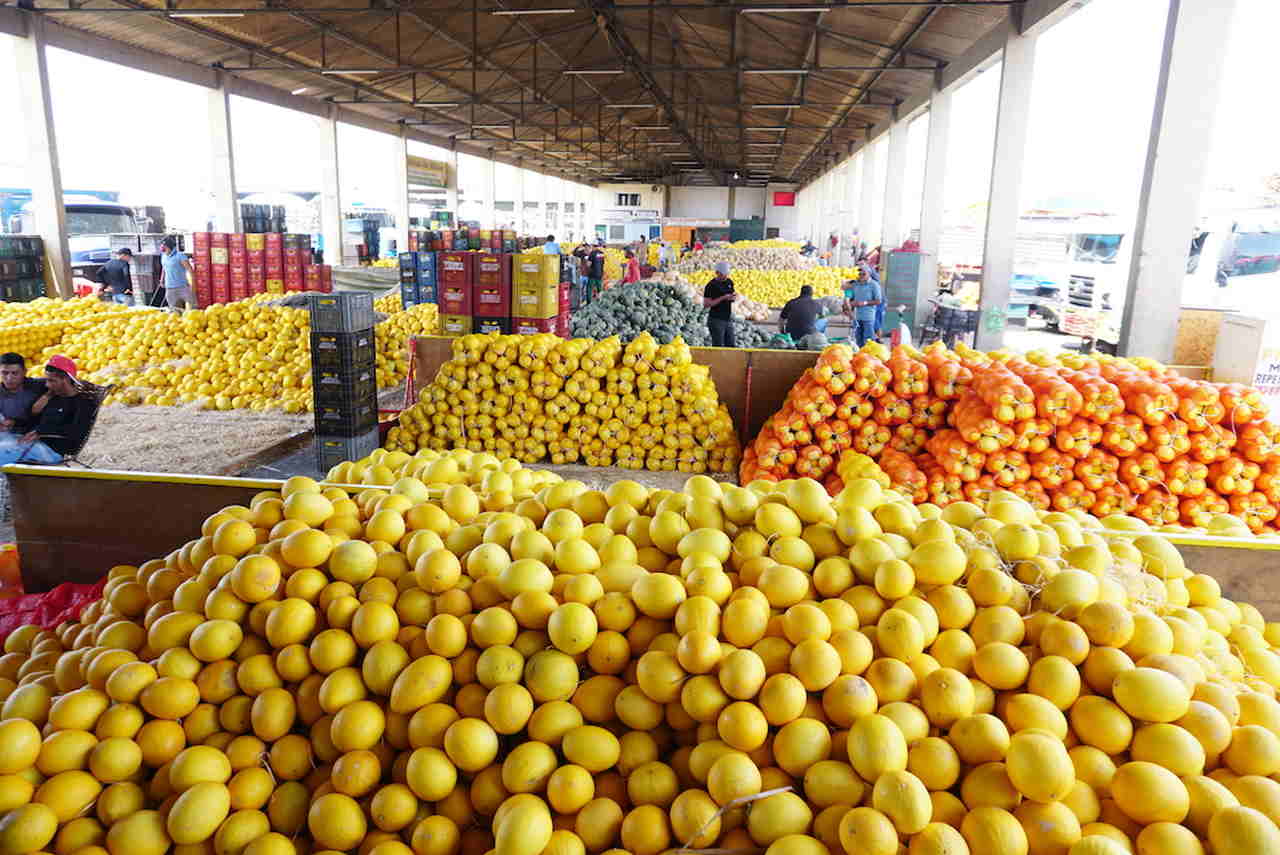
O mercado do produtor de Juazeiro no norte da Bahia está entre os três mais importantes do país segundo um estudo da Companhia Nacional de Abastecimento.Em 2021 foram mais de …

Une macrocytose est un trouble sanguin souvent lié à une carence en vitamine B9 et B12.Elle se traduit par une taille anormalement importante des globules rouges.D'autres causes peuvent être à …
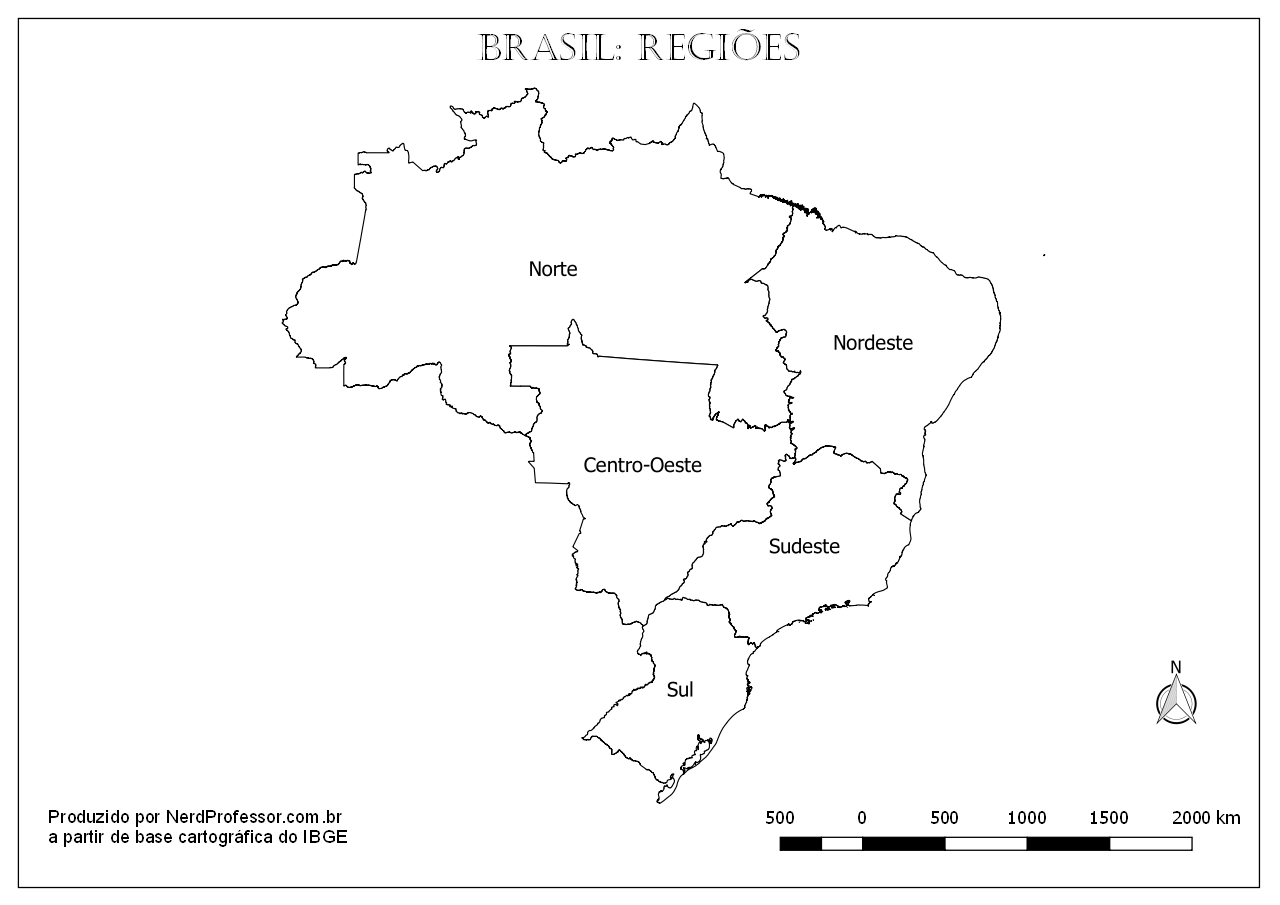
Mapas do Brasil para imprimir. Aqui você encontrará diferentes versões do mapa do Brasil tanto com os estados como sem eles bem como a marcação das regiões do país. É …

A linha LINHA 2 é o último Metrô que vai para Imagem Pierre Fauchard - Unidade Lauro em Lauro De Freitas. Ele para nas proximidades às 05:00. Que horas é …

Pergunta: a quantos quilômetros por hora equivale 1 nó? A resposta é: 1 nó equivale a 1852 quilômetro por hora ou 1 nó = 1852 kph 1 nó = 1852 …

Pode ser encontrada em vários tamanhos e também conta com lâminas curvas ou retas. Tesoura Littauer; Outro tipo comum de tesoura cirúrgica amplamente utilizada por cirurgiões é a tesoura Littauer. …